GridLayout In Android Studio is used to show the data in the form of rows and column. It can be a list or static data. We specify the number of rows and columns to divide the list. It is default scrollable layout used in android studio.

You can see in the above image, we have to specify rows and columns to divide the list into grid form in android studio. It is similar to GridView in android. Both are used to create dynamic or static grid list in android studio.
Please note that we will create GridLayout using RecyclerView. It’s totally the same as RecyclerView, we only change the way to create GridLayout.
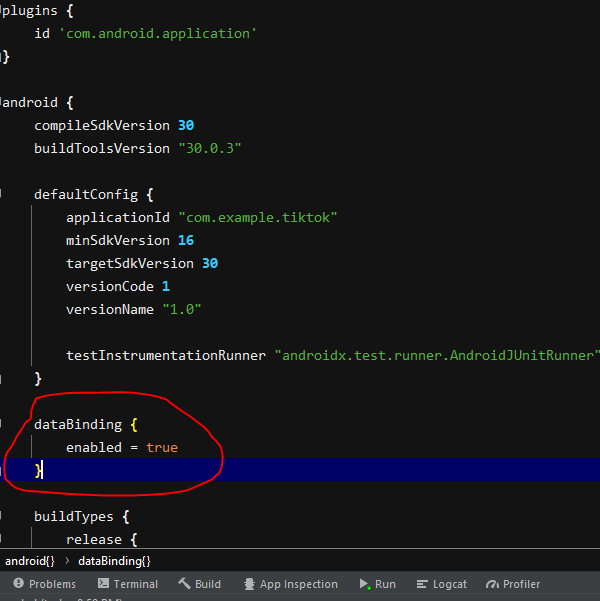
Note – Please note that I used DataBinding in this project for better coding and reducing the length of code. You can quickly learn from here how to enable DataBinding in android studio.
How To Create GridLayout In Android Studio
To create GridLayout in android studio just use GridLayout in your xml file. Give number of rows and column there. You can use following code to create GridLayout in android.
Required Classes Or Component
Some of required java class and xml file are below which are required to create the GridLayout using RecyclerView in android studio.
- Adapter Class
- Adapter class’s single view xml
- Model class
- Main Java class
- xml file for Main Java class
Model Class For GridLayout In Android
The model class is used to get and set the data from another places. Create required variables as you needed. I created for testing purpose.
package com.example.androidtestingproject.Model;

import com.google.gson.annotations.SerializedName;

public class LatestItemModel {
    @SerializedName("productImage") private String productImage;
    @SerializedName("productName") private String productName;
    @SerializedName("productQuantity") private String productQuantity;
    @SerializedName("productPrice") private String productPrice;

    public LatestItemModel(String productImage, String productName, String productQuantity, String productPrice) {
        this.productImage = productImage;
        this.productName = productName;
        this.productQuantity = productQuantity;
        this.productPrice = productPrice;
    }

    public String getProductImage() {
        return productImage;
    }

    public void setProductImage(String productImage) {
        this.productImage = productImage;
    }

    public String getProductName() {
        return productName;
    }

    public void setProductName(String productName) {
        this.productName = productName;
    }

    public String getProductQuantity() {
        return productQuantity;
    }

    public void setProductQuantity(String productQuantity) {
        this.productQuantity = productQuantity;
    }

    public String getProductPrice() {
        return productPrice;
    }

    public void setProductPrice(String productPrice) {
        this.productPrice = productPrice;
    }
}
Adapter Class For GridLayout
Adapter is a bridge between main java class and the model class. It takes data from the model class and set into the single xml view through the main class. Below is the adapter class.
package com.example.androidtestingproject.Adapters;

import android.content.Context;
import android.content.Intent;
import android.util.Log;
import android.view.LayoutInflater;
import android.view.View;
import android.view.ViewGroup;

import androidx.annotation.NonNull;
import androidx.databinding.DataBindingUtil;
import androidx.recyclerview.widget.RecyclerView;

import com.bumptech.glide.Glide;
import com.example.androidtestingproject.Activity.ProductDetailsActivity;
import com.example.androidtestingproject.Model.LatestItemModel;
import com.example.androidtestingproject.R;
import com.example.androidtestingproject.databinding.ItemHomeLatestItemsBinding;
import com.example.androidtestingproject.databinding.ItemSuggestedBinding;

import java.util.List;

public class SuggestedItemAdapter extends RecyclerView.Adapter<SuggestedItemAdapter.myViewHolder> {
    private Context context;
    private List<LatestItemModel> data;
    private int productSelectedNumber = 0;

    public SuggestedItemAdapter(Context context, List<LatestItemModel> data) {
        this.context = context;
        this.data = data;
    }

    @NonNull
    @Override
    public myViewHolder onCreateViewHolder(@NonNull ViewGroup parent, int viewType) {
        ItemSuggestedBinding binding = DataBindingUtil.inflate(LayoutInflater.from(context), R.layout.item_suggested, parent, false);
        return new myViewHolder(binding);
    }

    @Override
    public void onBindViewHolder(@NonNull myViewHolder holder, int position) {
        LatestItemModel model = data.get(position);

        Glide.with(context).load(model.getProductImage()).into(holder.binding.productImage);
        holder.binding.productTitle.setText(model.getProductName());
        holder.binding.productQuantity.setText(model.getProductQuantity());
        holder.binding.productPrice.setText(model.getProductPrice());

        holder.binding.layoutProductText.setOnClickListener(new View.OnClickListener() {
            @Override
            public void onClick(View v) {
                context.startActivity(new Intent(context, ProductDetailsActivity.class));
            }
        });
    }

    @Override
    public int getItemCount() {
        return data.size();
    }

    public class myViewHolder extends RecyclerView.ViewHolder {
        private ItemSuggestedBinding binding;

        public myViewHolder(ItemSuggestedBinding binding) {
            super(binding.getRoot());
            this.binding = binding;
        }
    }
}
item_suggested .xml
It is the single view xml file for adapter. This xml file is attached to the Adapter class. I created it according to my use, you can manage according to your use.
<?xml version="1.0" encoding="utf-8"?>
<layout xmlns:app="http://schemas.android.com/apk/res-auto"
    xmlns:android="http://schemas.android.com/apk/res/android">

    <data>

    </data>

    <androidx.appcompat.widget.LinearLayoutCompat
        android:layout_width="match_parent"
        android:layout_height="100dp"
        android:orientation="horizontal"
        android:background="@color/grey"
        android:padding="10dp"
        android:layout_margin="5dp"
        >

        <ImageView
            android:id="@+id/productImage"
            android:layout_width="match_parent"
            android:layout_height="match_parent"
            android:layout_weight="1.3"
            android:src="@drawable/cartphoto"/>

        <androidx.appcompat.widget.LinearLayoutCompat
            android:id="@+id/layoutProductText"
            android:layout_width="match_parent"
            android:layout_height="match_parent"
            android:layout_weight="1"
            android:paddingLeft="10dp"
            android:paddingTop="2dp"
            android:orientation="vertical">

            <TextView
                android:id="@+id/productTitle"
                android:layout_width="wrap_content"
                android:layout_height="wrap_content"
                android:text="Namkeen"
                android:textColor="@color/black"
                android:textSize="14dp"/>

            <TextView
                android:id="@+id/productQuantity"
                android:layout_width="wrap_content"
                android:layout_height="wrap_content"
                android:layout_marginTop="5dp"
                android:text="500 gm"
                android:textColor="@color/black"
                android:textSize="14dp"/>

            <TextView
                android:id="@+id/productPrice"
                android:layout_width="wrap_content"
                android:layout_height="wrap_content"
                android:layout_marginTop="5dp"
                android:text="Rs.300"
                android:textColor="@color/black"
                android:layout_gravity="bottom"
                android:gravity="bottom"
                android:textStyle="bold"
                android:textSize="15dp"/>

        </androidx.appcompat.widget.LinearLayoutCompat>


    </androidx.appcompat.widget.LinearLayoutCompat>

</layout>
Method For Call GridLayout In Java Class
For better understanding I created a method name – setDataToSuggestedItem () Use this method and pass the list of model class object in parameter. The inbuilt method – > setLayoutManager(new GridLayoutManager(getActivity(), 3)); differentiate between simple list and grid list while using RecyclerView.
private void setDataToSuggestedItem(List<LatestItemModel> latestItemModelList) {
        suggestedItemAdapter = new SuggestedItemAdapter(getActivity(), latestItemModelList);
        RecyclerView.LayoutManager layoutManager2 = new LinearLayoutManager(getActivity(), LinearLayoutManager.HORIZONTAL, false);
        binding.recyclerviewSuggested.setLayoutManager(new GridLayoutManager(getActivity(), 3));
        binding.recyclerviewSuggested.setItemAnimator(new DefaultItemAnimator());
        binding.recyclerviewSuggested.setAdapter(latestItemAdapter);
    }
fragment_home .xml
This is the main xml class where the RecyclerView is created. Create a RecyclerView in your xml file in which you want to create GridLayout. You can use the following code in your projects.
<?xml version="1.0" encoding="utf-8"?>
<layout xmlns:android="http://schemas.android.com/apk/res/android"
    xmlns:app="http://schemas.android.com/apk/res-auto"
    xmlns:tools="http://schemas.android.com/tools">

      <LinearLayout
            android:layout_width="match_parent"
            android:layout_height="match_parent"
            android:background="@color/lightGrey"
            android:orientation="vertical"
            tools:context=".Fragment.HomeFragment">

             <androidx.recyclerview.widget.RecyclerView
                android:id="@+id/recyclerviewSuggested"
                android:layout_width="match_parent"
                android:layout_height="wrap_content" />

      </LinearLayout>

</layout>
Main Java Class For GridLayout in Android
Following is the complete java class for creating the GridLayout in android using RecyclerView. I Created variable for Adapter class and Model class. I also set hardcoded data to the model class here.
package com.example.androidtestingproject.Fragment;

import android.app.AlertDialog;
import android.content.DialogInterface;
import android.content.Intent;
import android.os.Bundle;

import androidx.databinding.DataBindingUtil;
import androidx.fragment.app.Fragment;
import androidx.recyclerview.widget.DefaultItemAnimator;
import androidx.recyclerview.widget.GridLayoutManager;
import androidx.recyclerview.widget.LinearLayoutManager;
import androidx.recyclerview.widget.RecyclerView;

import android.view.LayoutInflater;
import android.view.View;
import android.view.ViewGroup;

import com.example.androidtestingproject.Adapters.HomeImageSliderAdapter;
import com.example.androidtestingproject.Activity.BottomNavigationActivity;
import com.example.androidtestingproject.Activity.MainActivity;
import com.example.androidtestingproject.Adapters.LatestItemAdapter;
import com.example.androidtestingproject.Adapters.SuggestedItemAdapter;
import com.example.androidtestingproject.Model.HomeImageSliderModel;
import com.example.androidtestingproject.Model.LatestItemModel;
import com.example.androidtestingproject.R;
import com.example.androidtestingproject.databinding.FragmentHomeBinding;
import com.smarteist.autoimageslider.IndicatorView.animation.type.IndicatorAnimationType;
import com.smarteist.autoimageslider.SliderView;

import java.util.ArrayList;
import java.util.List;

public class HomeFragment extends Fragment  {
    private FragmentHomeBinding binding;
    private View view;

    private List<HomeImageSliderModel> modelList = new ArrayList<>();

    private List<LatestItemModel> latestItemModelList;
    private LatestItemAdapter latestItemAdapter;
    private SuggestedItemAdapter suggestedItemAdapter;

    @Override
    public View onCreateView(LayoutInflater inflater, ViewGroup container,
                             Bundle savedInstanceState) {
        // Inflate the layout for this fragment
        binding = DataBindingUtil.inflate(inflater, R.layout.fragment_home, container, false);
        view = binding.getRoot();
        initView();
        return view;
    }

    private void initView() {

        latestItemModelList = new ArrayList<>();
        setLatestItem();
        binding.button.setOnClickListener(new View.OnClickListener() {
            @Override
            public void onClick(View v) {
                startActivity(new Intent(getActivity(), BottomNavigationActivity.class));
            }
        });


    }


    private void setLatestItem() {
        LatestItemModel model = new LatestItemModel(
                "https://5.imimg.com/data5/NJ/DW/YW/SELLER-8673553/namkeen-packaging-pouch-500x500.jpg",
                "Namkeen", "500gm", "Rs.350");
        latestItemModelList.add(model);

        LatestItemModel model2 = new LatestItemModel(
                "https://5.imimg.com/data5/AV/FR/QL/SELLER-9988068/laminated-namkeen-packaging-packet-500x500.jpg",
                "Sona Namkeen", "250gm", "Rs.100");
        latestItemModelList.add(model2);

        LatestItemModel model3 = new LatestItemModel(
                "https://thumbs.dreamstime.com/b/new-delhi-india-november-packets-chips-indian-brand-haldirams-packaged-food-182551372.jpg",
                "Chips", "500gm", "Rs.80");
        latestItemModelList.add(model3);

        LatestItemModel model4 = new LatestItemModel(
                "https://thumbs.dreamstime.com/b/packets-popular-brands-snack-food-poznan-poland-jun-packets-popular-brands-snack-food-including-lays-crunchips-120285289.jpg",
                "Lays", "100", "Rs.40");
        latestItemModelList.add(model4);

        LatestItemModel model5 = new LatestItemModel(
                "https://imagesvc.meredithcorp.io/v3/mm/image?url=https%3A%2F%2Fstatic.onecms.io%2Fwp-content%2Fuploads%2Fsites%2F38%2F2015%2F06%2F12233316%2FMichael-Angelo-Meal-Starter-Chicken-Bruschetta.jpg",
                "Chicken Masala", "500gm", "Rs.400");
        latestItemModelList.add(model5);

        LatestItemModel model6 = new LatestItemModel(
                "https://vinayakfoodsgroup.com/indian-ready-to-eat/wp-content/uploads/2019/07/delicious-healthy-breakfast2-4.jpg",
                "Dry Food", "500gm", "Rs.550");
        latestItemModelList.add(model6);

        setDataToSuggestedItem(latestItemModelList);
    }


    private void setDataToSuggestedItem(List<LatestItemModel> latestItemModelList) {
        suggestedItemAdapter = new SuggestedItemAdapter(getActivity(), latestItemModelList);
        RecyclerView.LayoutManager layoutManager2 = new LinearLayoutManager(getActivity(), LinearLayoutManager.HORIZONTAL, false);
        binding.recyclerviewSuggested.setLayoutManager(new GridLayoutManager(getActivity(), 3));
        binding.recyclerviewSuggested.setItemAnimator(new DefaultItemAnimator());
        binding.recyclerviewSuggested.setAdapter(latestItemAdapter);
    }


}
}
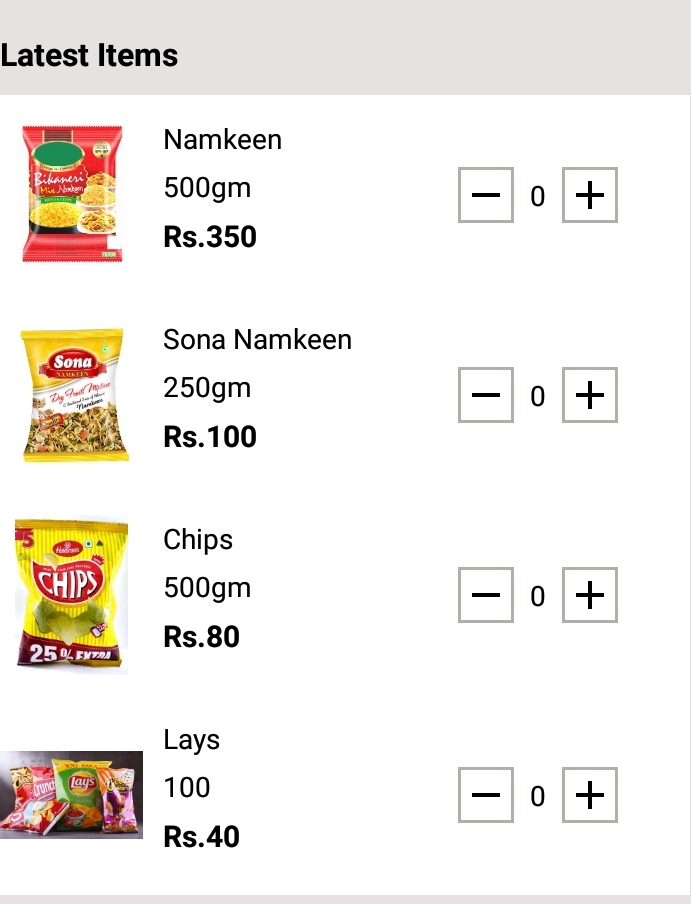
Result
Below is the screenshot or the result of this tutorial. You can create it in better way by using the best grid design in android studio.

Thank You for reading this tutorial hope you learn something from here, Please comment for your queries or and suggestion. We will respond shortly.
Suggestions:
Linear Layout In Android Studio
Relative Layout in Android Studio With Examples
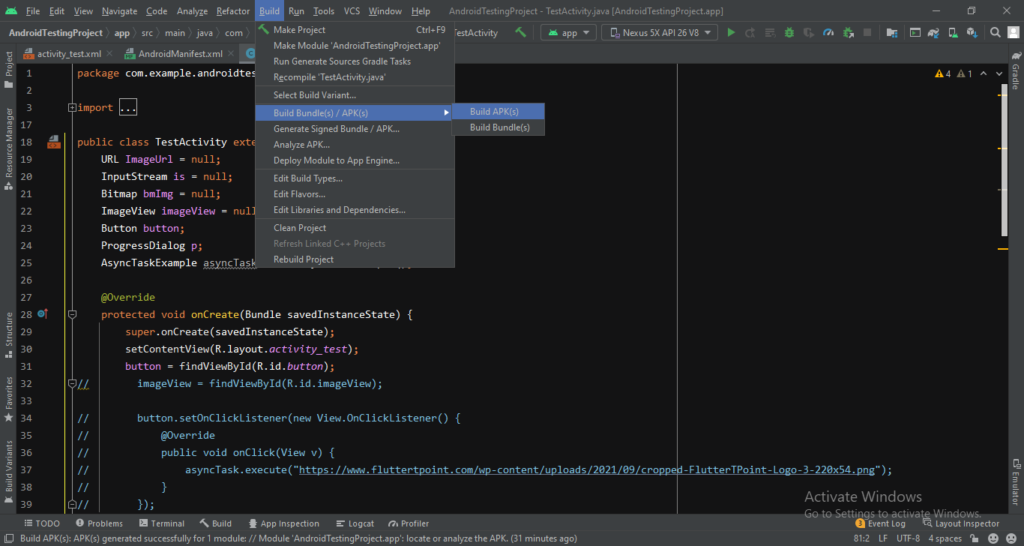
How to generate android debug apk for testing the app
CardView In Android Studio With Examples
Android Splash Screen Full Example
SQLITE Database In Android Studio Example
What is WebView In Android Studio
Pull To Refresh In Android Studio
Opening Camera In Android Studio Examples
Tabs In Android Studio Example
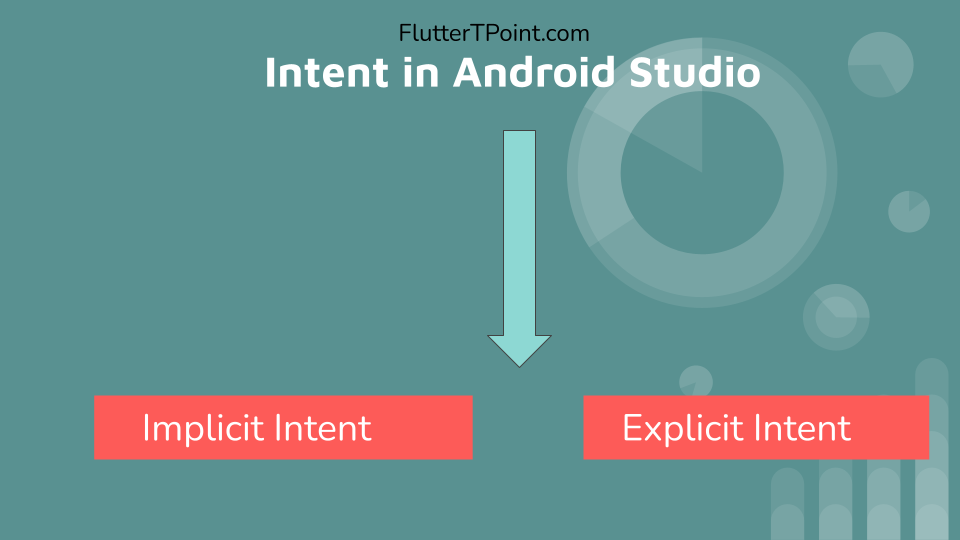
Intent In Android Studio With Examples
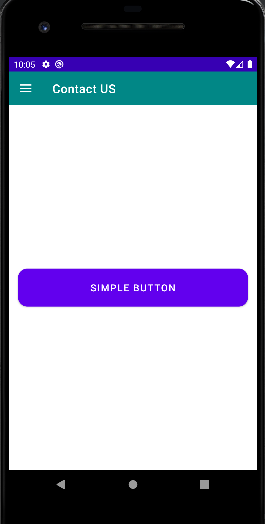
Creating Rounded Corner Button In Android Studio
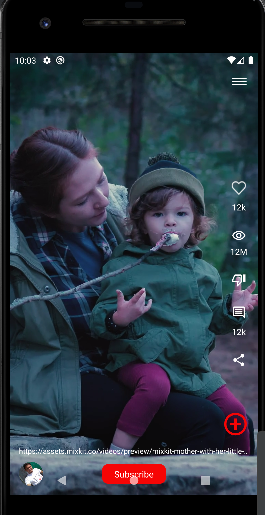
Full Screen VideoView In Android Studio Example
Auto Image Slider In Android Studio Example
Recyclerview in android Complete Example
Android DataBinding Example | Enable Data Binding in Android
Bottom Navigation Bar In Android
Navigation Drawer In Android Studio With Example | FlutterTPoint
Why String are immutable in Java Full Explanation