In this tutorial we will learn how to use Retrofit Library in Android projects. Retrofit is mostly used library to fetch the JSON format data from server in android. This is an API call library which fetch the data from server.

What is Retrofit2 In Android
Mostly apps fetch data from server, It can be stored in any type of cloud storage server. There are many companies which have their application and website. The data should be same on both platforms. To fetch that same data in both platforms we needed to create APIs which provides data and perform CRUD operations on both Application and website. So Retrofit2 is its updated version API, Mainly used to fetch and upload the data to the cloud storage.
Why Should I Use Retrofit In Android
Retrofit makes easy to do operation with the cloud storage data in Android applications. Android has its own library to fetch and upload the data but Retrofit is easy to use. Some of the features and benefits are below.
- Very Fast.
- Direct Communication with web service.
- Support dynamic URL.
- It supports converters.
- Easy to understand and write.
- Cancelable feature.
- It supports multipart request.
Rest of above features there are many features which enable you to use the Retrofit Library in android projects.
How To Use Retrofit In Android Studio
Add below Retrofit and gson dependencies to use the library. You can also find the latest version from Here. Also from the github.
Implement Retrofit Library
Add the below library into your project’s build.gradle(Module).
implementation 'com.squareup.retrofit2:retrofit:2.3.0'Retrofit Converter-gson Library
You might also need for okhttp which are dependencies for this library. Add these in build.gradle(Module) file.
implementation 'com.squareup.retrofit2:converter-gson:2.3.0'
implementation 'com.squareup.okhttp3:okhttp:3.10.0'
After adding the above dependencies do sync the project to fetch the libraries. Sync add the required libraries to the required folder automatically.
Required Class For Retrofit In Android Project
Below are the required content for using the Retrofit Library in Android projects. We fetch the data from server using this library. In the below example we will also upload the data using the POST method.
- RestClient.java
- RetrofitInstance.java
- APIService.java
- MainClass.java
- User.java
I provided name of these classes according to use, You can change the names of these file if you needed only the code should remain same. I will explain one by one.
RestClient.java
This class is using the GsonConverterFactory class to generate an implement of the GitHubService interface which use Gson for its deserialization. You can set the timeout session here.
import java.util.concurrent.TimeUnit;

import javax.net.ssl.HostnameVerifier;
import javax.net.ssl.SSLSession;

import okhttp3.OkHttpClient;

public class RestClient {
    public static OkHttpClient okClient() {
        return new OkHttpClient.Builder()
                .connectTimeout(1, TimeUnit.MINUTES)
                .writeTimeout(1, TimeUnit.MINUTES)
                .readTimeout(1, TimeUnit.MINUTES)
                .hostnameVerifier(new HostnameVerifier() {
                    @Override
                    public boolean verify(String hostname, SSLSession session) {
                        return true;
                    }
                })
                .build();
    }
}
RetrofitInstance.java
In this class we created instance of the Retrofit class. Write here the BASE_URL of the server, it should be the string type. Use the RetrofitClient for convert the instance of the Retrofit library.
import retrofit2.Retrofit;
import retrofit2.converter.gson.GsonConverterFactory;

public class RetrofitInstance {
    private static Retrofit retrofit;
    private static final String BASE_URL = "Write Your Base URL";
    public static Retrofit getRetrofitInstance() {
        if (retrofit == null) {
            retrofit = new Retrofit.Builder()
                    .baseUrl(BASE_URL)
                    .client(RestClient.okClient())
                    .addConverterFactory(GsonConverterFactory.create())
                    .build();
        }
        return retrofit;
    }
}
APIService.java
This is and interface which define all the endpoint method and other parameters. Retrofit turns HTTP API into java interface.
import java.util.ArrayList;

import okhttp3.MultipartBody;
import okhttp3.RequestBody;
import retrofit2.Call;
import retrofit2.http.Field;
import retrofit2.http.FormUrlEncoded;
import retrofit2.http.Multipart;
import retrofit2.http.POST;
import retrofit2.http.Part;

public interface APIService {


    @FormUrlEncoded
    @POST("endpoint")
    Call<String> sendData(@Field("id") String id );

}
Request Methods Of Retrofit In Android
Retrofit have following methods to fetch and upload the data to server. Every method must have an HTTP annotation that provides the request method and relative URL. There are Eight built-in annotation – GET, POST, PUT, PATCH, DELETE, HTTP, OPTIONS and HEAD. The relative URL of resource is specified in the annotation.
Simple POST Request
To send the POST request , write endpoint URL inside the POST. sendData() is method which is created, You can give another name it and create the variables inside it. The variable name should be same as the parameters of the backend API. @FormUrlEncoded is used to encoded the data, this is used when we send the data. @Field is used with POST request.
@FormUrlEncoded
    @POST("endPointURL")
    Call<User> sendData( @Field("id") String id );
Simple GET Request
We can not use @FormUrlEncoded with get request and there is no need to pass the parameters.
 @GET("endPointURL")
    Call<User> getData();
Multipart Request In Retrofit
To send the data in the form of part use the Multipart request. Multipart is used when we want to send the data in parts. Like sending the big image file in parts. Use @Multipart annotation with the request method. @part is used to define the parameters and it must be send RequestBody type. The file/image’s parameters should be of MultipartBody.part type
@Multipart
    @POST("upload")
    Call<User> upload( @Part("userName") RequestBody name,
                               @Part("id") RequestBody id,
                               @Part("password") RequestBody password,
                               @Part MultipartBody.Part profilePhoto
    );
HEADER Manipulation
To send Header use the @Headers annotation and pass the required parameters. This is also used for sending the authorization keys.
@Headers({
    "Accept: application/json",
    "User-Agent: Sample-App"
})
@GET("endPointURL")
    Call<User> getData();
Now to call the request method, call the method that is create inside this interface and provide the parameters if required. By calling the interface like below.
User.java
User.java is the model class which have getter and setter methods.
import com.google.gson.annotations.SerializedName;

public User {
    @SerializedName("status") private String status;
    @SerializedName("message") private String message;
    @SerializedName("id") private String id;

    public String getStatus() {
        return status;
    }

    public void setStatus(String status) {
        this.status = status;
    }

    public String getMessage() {
        return message;
    }

    public void setMessage(String message) {
        this.message = message;
    }

    public String getId() {
        return id;
    }

    public void setId(String id) {
        this.id = id;
    }
}
Call this Method Activity/Fragment
You can call the below method in your Activity or Fragment and pass the required parameters. You have to pass separate model class in the enqueue<User> and Call<User> method for each request call. If there is the the array inside the object in json response, then create two model class and pass first class inside the Call<ModelFirst> and hold the response.body() inside the SecondModel()’s object. RetrofitInstance, ApiService classes are used here to call the required methods.
public void getData(){
 String id = "100";
APIService service = RetrofitInstance.getRetrofitInstance().create(APIService.class);
            Call<User> call = service.sendData(id);
            showProgress("Sending");
            call.enqueue(new Callback<User>() {
                @Override
                public void onResponse(Call<User> call, Response<User> response) {
                    hideProgress();
                    if (response.isSuccessful()) {
                        ModelClass modelLogin = response.body();
                        if (modelLogin.getStatus().equals("200")) {

                            //perform code here
                            //data saved into modelLogin object

                        } else {
                            makeToast(modelLogin.getMessage());
                        }
                    } else {
                        Toasty.error(mContext, "Eror", Toast.LENGTH_LONG, true).show();
                    }
                }

                @Override
                public void onFailure(Call<User> call, Throwable t) {
                    hideProgress();
                    Toasty.error(mContext, "May be network error", Toast.LENGTH_LONG, true).show();
                }
            });
}
You can learn more about Retrofit from here.
Thank you for visiting this page, hope you learn that how to call and API in Android using Retrofit. Please visit more useful Android Tutorials.
Suggestions:
Linear Layout In Android Studio
Relative Layout in Android Studio With Examples
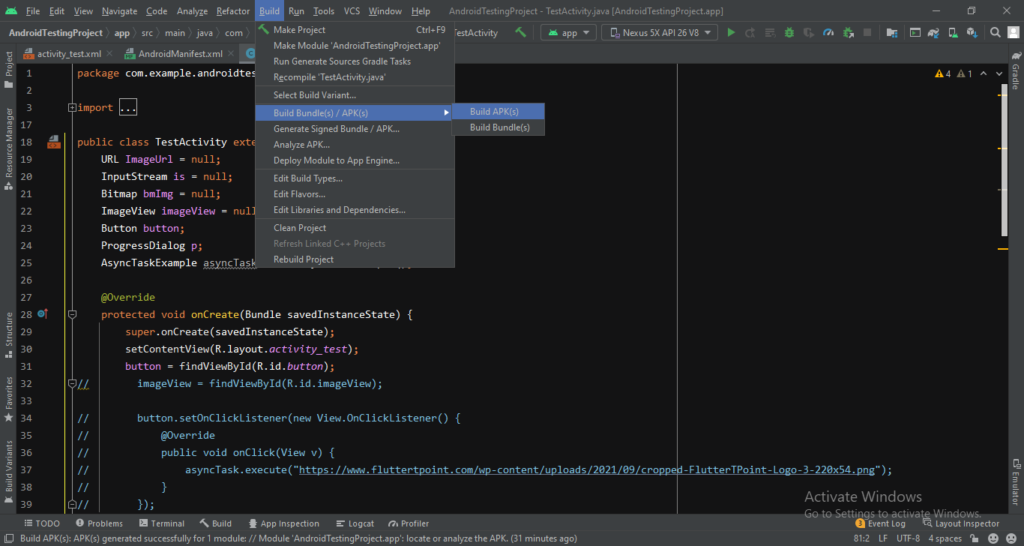
How to generate android debug apk for testing the app
CardView In Android Studio With Examples
Android Splash Screen Full Example
SQLITE Database In Android Studio Example
What is WebView In Android Studio
Pull To Refresh In Android Studio
Opening Camera In Android Studio Examples
Tabs In Android Studio Example
Intent In Android Studio With Examples
Creating Rounded Corner Button In Android Studio
Full Screen VideoView In Android Studio Example
Auto Image Slider In Android Studio Example
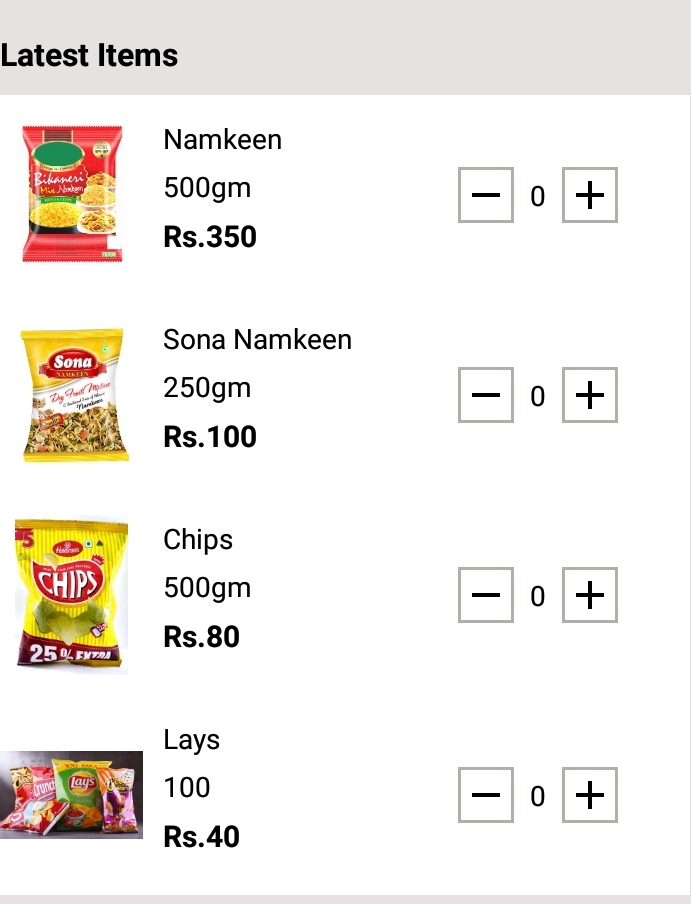
Recyclerview in android Complete Example
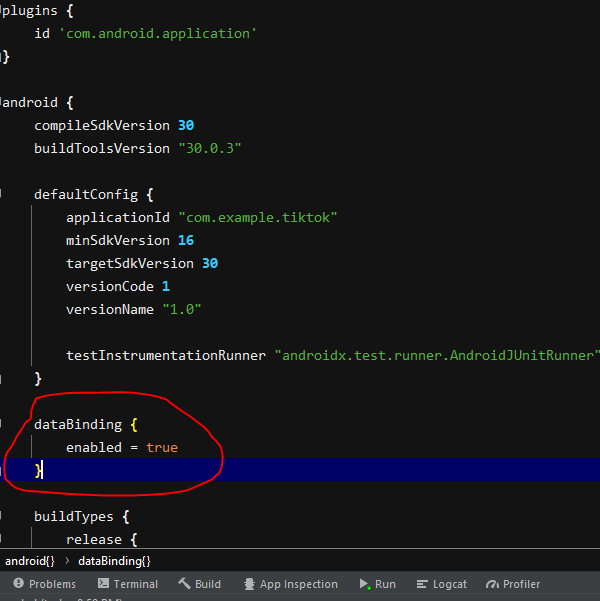
Android DataBinding Example | Enable Data Binding in Android
Bottom Navigation Bar In Android
Navigation Drawer In Android Studio With Example | FlutterTPoint
Why String are immutable in Java Full Explanation


Pingback: газовый котел