Pull To Refresh in Android is used to refresh the data by dragging the screen from the top. This is happen only in android devices. There are many options for reloading the data but we will use Facebook’s SwipeRefreshLayout dependency.

How To Implement Pull To Refresh In Android Studio
To implement Pull To Refresh in android studio, we will use RefreshLayout. This is dependency created by google. It is very easy to implement in android studio.
Add The Dependency
Make RefreshLayout to parent layout in your xml file. Means wrap all the layouts inside the RefreshLayout for which screen you want to Pull To Refresh. Add the following dependency to build.gradle file.
This can be update in future so you can get latest dependency from here.
implementation 'androidx.swiperefreshlayout:swiperefreshlayout:1.0.0'
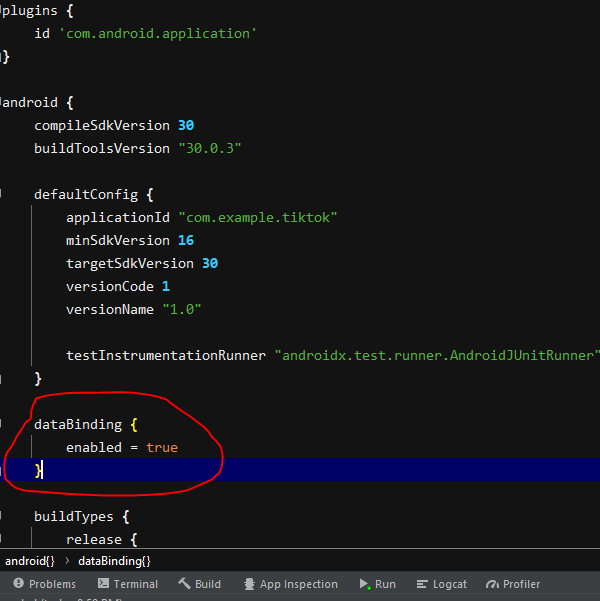
Enable DataBinding
Please note that I used data binding in this tutorial. Databinding is the way of reducing the code. To enable data binding please Visit This Link, it will hardly take 5 minutes to enable.
How To Use Pull To Refresh
Swipe Refresh Layout is used to do pull to refresh in android. This dependency is created by google is widely used. Wrap SwipeRefreshLayout to the content which will refresh after pulling the screen from top.
Wrap The Reloaded Content in SwipeRefreshLayout
Below is dummy layout in which a text value is changed after pulling the screen from top.
<androidx.swiperefreshlayout.widget.SwipeRefreshLayout
        android:id="@+id/pullToRefresh"
        android:layout_width="match_parent"
        android:layout_height="match_parent">

        <TextView
            android:id="@+id/value"
            android:layout_width="wrap_content"
            android:layout_height="wrap_content"
            android:text="5"
            android:textSize="28dp"
            android:gravity="center"/>

    </androidx.swiperefreshlayout.widget.SwipeRefreshLayout>
Pull To Refresh/ SwipeRefreshLayout Listener
Use the Swipe Refresh Listener to reload the data or any method.
//refresh
binding.pullToRefresh.setOnRefreshListener(new SwipeRefreshLayout.OnRefreshListener() {
    @Override
    public void onRefresh() {
       binding.value.setText("20");
    }
});
How to Use Pull To Refresh in RecyclerView
You can Wrap the Swipe Refresh Layout to the RecyclerView in android to refresh the data of RecyclerView. Clear the ListView before pushing the data inside it and hide the ProgressDialog if you are using.
Following is the complete class code for using the Swipe Refresh Layout for RecyclerView in android. You can create a ProgressDialog to show the loader and hide it after the ListView get data.
import android.app.ProgressDialog;
import android.content.Intent;
import android.os.Bundle;

import androidx.annotation.Nullable;
import androidx.core.content.ContextCompat;
import androidx.fragment.app.Fragment;
import androidx.recyclerview.widget.DividerItemDecoration;
import androidx.recyclerview.widget.LinearLayoutManager;
import androidx.recyclerview.widget.RecyclerView;
import androidx.swiperefreshlayout.widget.SwipeRefreshLayout;

import android.util.Log;
import android.view.Gravity;
import android.view.LayoutInflater;
import android.view.View;
import android.view.ViewGroup;
import android.widget.TextView;
import android.widget.Toast;

import com.example.cashbeen.Network.APIService;
import com.example.cashbeen.Network.RetrofitInstance;
import com.example.cashbeen.R;
import com.example.cashbeen.Utils.EqualSpacingItemDecoration;
import com.example.cashbeen.Utils.SessionManager;

import java.util.ArrayList;
import java.util.Arrays;
import java.util.List;

import es.dmoral.toasty.Toasty;
import retrofit2.Call;
import retrofit2.Callback;
import retrofit2.Response;

public class LoanHistoryFragment extends Fragment {
    View view;
    private RecyclerView recyclerView;
    private List<LoanHistoryModelData> arrayList;
    private LoanHistoryFragmentAdapter adapter;
    private ProgressDialog progressDialog;

    @Override
    public View onCreateView(LayoutInflater inflater, ViewGroup container, Bundle savedInstanceState) {
        view = inflater.inflate(R.layout.loan_history_frag, container, false);
        initView();
        return view;
    }

    private void initView() {
        arrayList = new ArrayList<>();
        progressDialog = new ProgressDialog(getActivity());

        //refresh
        binding.pullToRefresh.setOnRefreshListener(new SwipeRefreshLayout.OnRefreshListener() {
            @Override
            public void onRefresh() {
                binding.value.setText("20");

                //reload the method
                loadHistory();

               //remove the margin or padding
                while (recyclerView.getItemDecorationCount() > 0) {
                    recyclerView.removeItemDecorationAt(0);
                }
            }
        });

    }

    public void loanHistory() {
        arrayList.clear();
        APIService service = RetrofitInstance.getRetrofitInstance().create(APIService.class);

        Call<LoanHistoryModel> call = service.LoanHistory(user_id);
        pullToRefresh.setRefreshing(false);
        progressDialog.setMessage("Loading");
        progressDialog.show();
        call.enqueue(new Callback<LoanHistoryModel>() {
            @Override
            public void onResponse(Call<LoanHistoryModel> call, Response<LoanHistoryModel> response) {
                progressDialog.hide();
                if (response.isSuccessful()) {
                    LoanHistoryModel data3 = response.body();
                        arrayList = data3.getData();
                        setDataIntoRecyclerView(arrayList);
                        if (arrayList.isEmpty()) {
                            noLoanHistory.setVisibility(View.VISIBLE);
                        }

                } else {
                    progressDialog.hide();
                    Toast.makeText(getActivity(), "Try Again", Toast.LENGTH_LONG).show();
                }
            }

            @Override
            public void onFailure(Call<LoanHistoryModel> call, Throwable t) {
                pullToRefresh.setRefreshing(false);
                progressDialog.hide();
                Toast.makeText(getActivity(), "Error while loading data", Toast.LENGTH_LONG).show();
            }
        });

    }

    private void setDataIntoRecyclerView(List<LoanHistoryModelData> arrayList) {
        adapter = new LoanHistoryFragmentAdapter(getActivity(), arrayList);
        adapter.notifyDataSetChanged();
        RecyclerView.LayoutManager layoutManager = new LinearLayoutManager(getActivity(), LinearLayoutManager.VERTICAL, false);
        binding.recyclerView.setLayoutManager(layoutManager);
        binding.recyclerView.setItemAnimator(new DefaultItemAnimator());
        binding.recyclerView.addItemDecoration(new EqualSpacingItemDecoration(25, EqualSpacingItemDecoration.VERTICAL));
        binding.recyclerView.setAdapter(adapter);
    }

   /* @Override
    public void onActivityCreated(@Nullable Bundle savedInstanceState) {
        super.onActivityCreated(savedInstanceState);
        loanHistory();
    }*/

   /* @Override
    public void onStart() {
        super.onStart();
        loanHistory();
    }*/

}
We didn’t included all the classed like Model class and Adapter class, also the item layout class for Adapter. You can use the code in your class where RecyclerView created.
Using Life Cycle Method
You can use Android Life Cycles methods to optimize best solution and avoiding the margins in every refresh.
Removing Margin After Refresh
You will hardly see that after pulling the screen there is always margin increasing in every pull. To remove this we already used RecyclerView inbuilt methods.
Comment for any doubts we will solve shortly. Thanks for reading the tutorial on FlutterTpoint.
Learn more Android Tutorial. If Your want to Learn Data Binding in android then Click Here.
Suggestions:
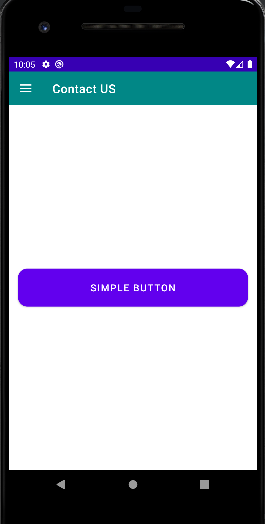
Linear Layout In Android Studio
Relative Layout in Android Studio With Examples
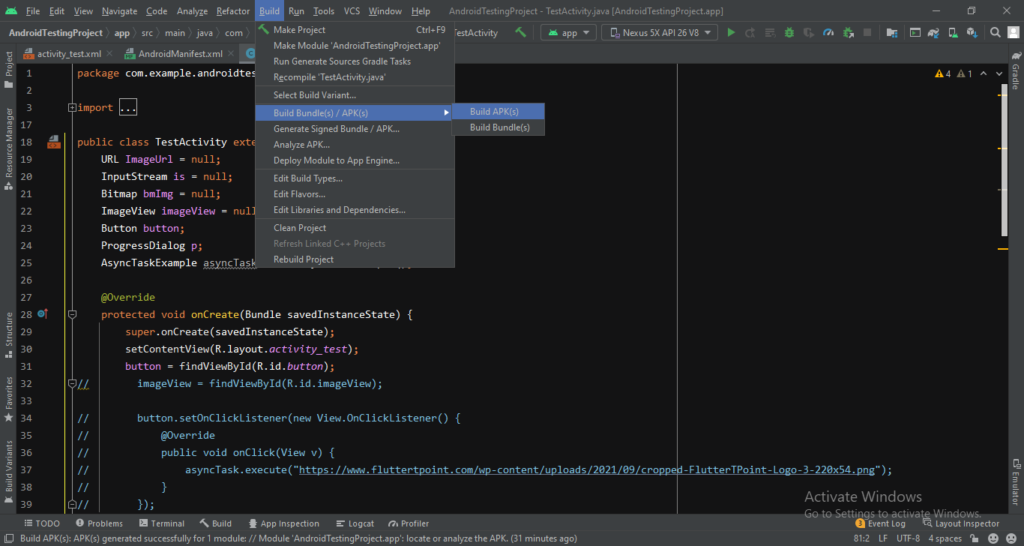
How to generate android debug apk for testing the app
CardView In Android Studio With Examples
Android Splash Screen Full Example
SQLITE Database In Android Studio Example
What is WebView In Android Studio
Pull To Refresh In Android Studio
Opening Camera In Android Studio Examples
Tabs In Android Studio Example
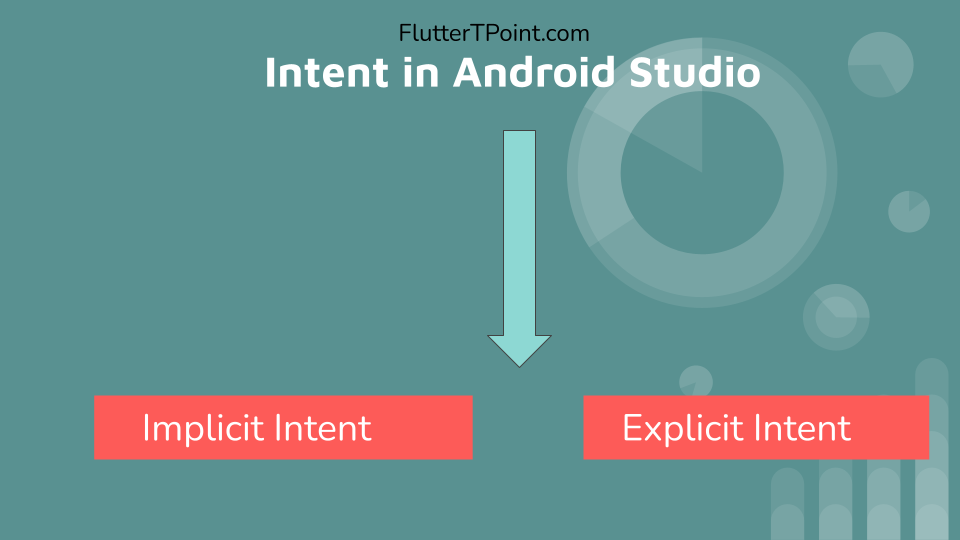
Intent In Android Studio With Examples
Creating Rounded Corner Button In Android Studio
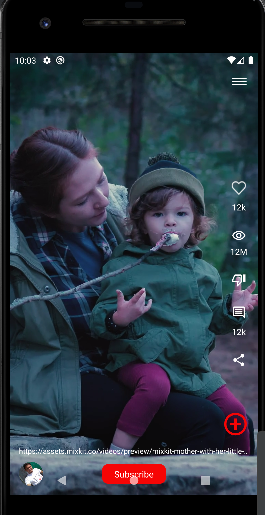
Full Screen VideoView In Android Studio Example
Auto Image Slider In Android Studio Example
Recyclerview in android Complete Example
Android DataBinding Example | Enable Data Binding in Android
Bottom Navigation Bar In Android
Navigation Drawer In Android Studio With Example | FlutterTPoint
Why String are immutable in Java Full Explanation