In this tutorial we will learn about Bottom Sheet in Android. We have seen in many applications like Google Map, Google Drive and more. Generally Bottom Sheet Open from bottom of the screen.

Use Of Bottom Sheet In Android Apps
Sometimes we want to show the data to user or want to user input without going to another screen, Then the Bottom Sheet Is used. It opens from bottom of the screen on the parent screen and block the parent screen. If we click outside the Bottom Sheet it disappears or we can do some setting for that.
Add Material Design Dependency
1. First of all Add the Material Design Library in your build.gradle file and click on the sync button to install all libraries in your project.
implementation 'com.google.android.material:material:1.2.1'2. Now create bottom_sheet_layout.xml file layout as below. This is simple layout design, you can create according to your requirements.
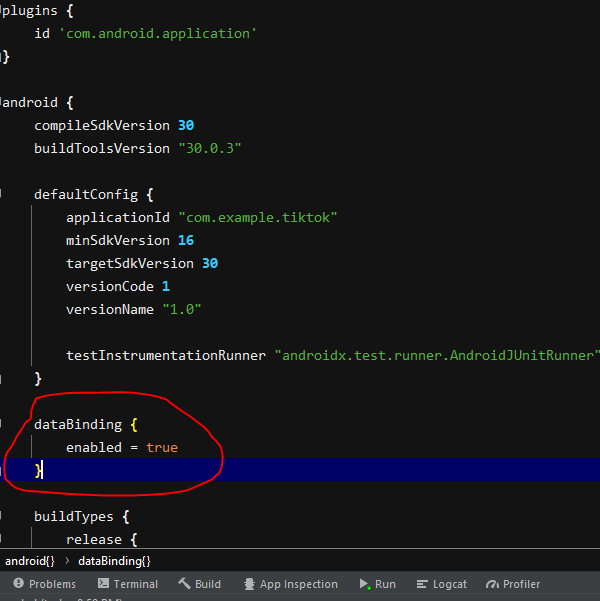
Note: Please note that I used Data Binding in this tutorial. It is the best practice for every android developer. You can quick learn it from here.
<?xml version="1.0" encoding="utf-8"?>
<layout xmlns:android="http://schemas.android.com/apk/res/android"
    xmlns:app="http://schemas.android.com/apk/res-auto">

    <LinearLayout
        android:layout_width="match_parent"
        android:layout_height="match_parent"
        android:orientation="vertical"
        android:layout_marginLeft="15dp"
        android:layout_marginTop="10dp"
        android:layout_marginRight="15dp"
        android:layout_marginBottom="10dp"
        android:padding="10dp">


        <TextView
            android:layout_width="wrap_content"
            android:layout_height="wrap_content"
            android:layout_gravity="center"
            android:text="Bottom Sheet View"
            android:textSize="18dp"
            android:textColor="@color/black"/>

        <EditText
            android:layout_width="match_parent"
            android:layout_height="wrap_content"
            android:padding="10dp"
            android:layout_marginTop="15dp"
            android:background="@drawable/react_shape_edittext_white"
            android:hint="Username"/>

        <EditText
            android:layout_width="match_parent"
            android:layout_height="wrap_content"
            android:padding="10dp"
            android:layout_marginTop="15dp"
            android:background="@drawable/react_shape_edittext_white"
            android:hint="Password"/>

        <com.google.android.material.button.MaterialButton
            android:id="@+id/buttonLogin"
            android:layout_width="match_parent"
            android:layout_height="wrap_content"
            android:layout_marginTop="15dp"
            android:text="Login"
            app:cornerRadius="5dp"
            android:padding="12dp"
            android:backgroundTint="@color/green"/>

    </LinearLayout>
</layout>
Below is the result of above code for the design of bottom_sheet_layout.xml. This design will come up from bottom side when we call the bottom sheet.

3. Now create BottomSheetDialog.java file and add the following code. Attach the above bottom_sheet_layout.xml to this BottomSheetDialog.java. It is extended to BottomSheetDialogFragment.
package com.example.rangeela_cart.custom;

import android.os.Bundle;
import android.view.LayoutInflater;
import android.view.View;
import android.view.ViewGroup;

import androidx.annotation.NonNull;
import androidx.annotation.Nullable;
import androidx.databinding.DataBindingUtil;

import com.example.rangeela_cart.R;
import com.example.rangeela_cart.databinding.BottomSheetLayoutBinding;
import com.google.android.material.bottomsheet.BottomSheetDialogFragment;

public class BottomSheetDialog extends BottomSheetDialogFragment {
    private BottomSheetLayoutBinding binding;
    private View view;
    @Nullable
    @Override
    public View onCreateView(@NonNull LayoutInflater inflater, @Nullable ViewGroup container, @Nullable Bundle savedInstanceState) {
        binding = DataBindingUtil.inflate(inflater, R.layout.bottom_sheet_layout, container, false);
        view = binding.getRoot();
        initView();
        return  view;
    }

    private void initView() {
        binding.buttonLogin.setOnClickListener(new View.OnClickListener() {
            @Override
            public void onClick(View view) {
                dismiss();
            }
        });
    }
}
4. Create an Activity. In which activity or fragment you want to show the Bottom Dialog Sheet in android app, create that. I created a ProductDetailActivity for that. for which the java class and layout file is below.
ProductDetailActivity.java
package com.example.rangeela_cart.Activity;

import androidx.appcompat.app.AppCompatActivity;
import androidx.databinding.DataBindingUtil;

import android.os.Bundle;
import android.view.View;

import com.example.rangeela_cart.R;
import com.example.rangeela_cart.custom.BottomSheetDialog;
import com.example.rangeela_cart.databinding.ActivityProductDetailBinding;

public class ProductDetailActivity extends AppCompatActivity {
    private ActivityProductDetailBinding binding;

    @Override
    protected void onCreate(Bundle savedInstanceState) {
        super.onCreate(savedInstanceState);
        binding = DataBindingUtil.setContentView(this, R.layout.activity_product_detail);
        initView();
    }

    private void initView() {
        binding.button.setOnClickListener(new View.OnClickListener() {
            @Override
            public void onClick(View view) {
                BottomSheetDialog bottomSheetDialog = new BottomSheetDialog();
                bottomSheetDialog.show(getSupportFragmentManager(), "ModalBottomSheet");
            }
        });
    }
}
In the above file, we created object for BottomSheetDialog and called its in-bult function.
activity_product_details.xml
<?xml version="1.0" encoding="utf-8"?>
<layout xmlns:android="http://schemas.android.com/apk/res/android"
xmlns:app="http://schemas.android.com/apk/res-auto"
xmlns:tools="http://schemas.android.com/tools">
<RelativeLayout
android:layout_width="match_parent"
android:layout_height="match_parent"
android:orientation="vertical"
tools:context=".Activity.ProductDetailActivity">
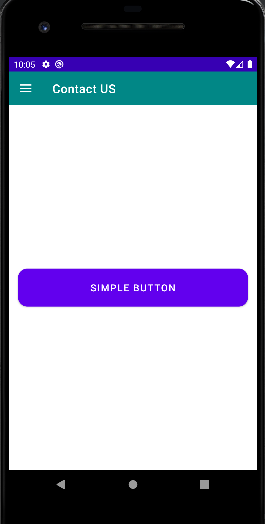
<Button
android:id="@+id/button"
android:layout_width="wrap_content"
android:layout_height="wrap_content"
android:text="Open Bottom Sheet"
android:layout_centerInParent="true"
android:padding="10dp"
tools:ignore="MissingConstraints" />
</RelativeLayout>
</layout>
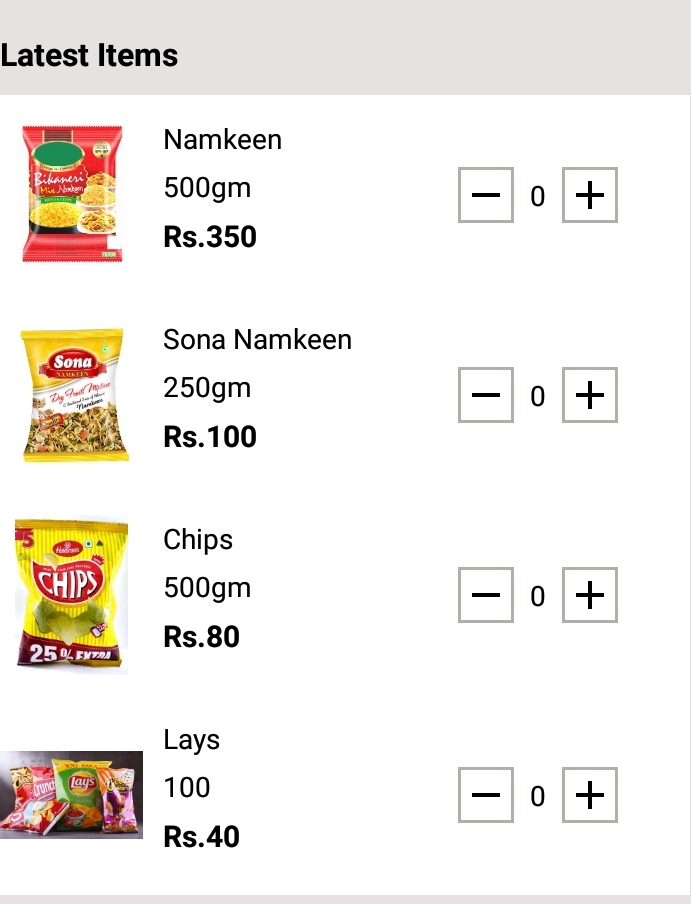
Result
Below is the result of this tutorial.


Thank You. Pease visit More useful Tutorials. For any doubt and issue you can comment in the comment section below.
Suggestions:
Linear Layout In Android Studio
Relative Layout in Android Studio With Examples
How to generate android debug apk for testing the app
CardView In Android Studio With Examples
Android Splash Screen Full Example
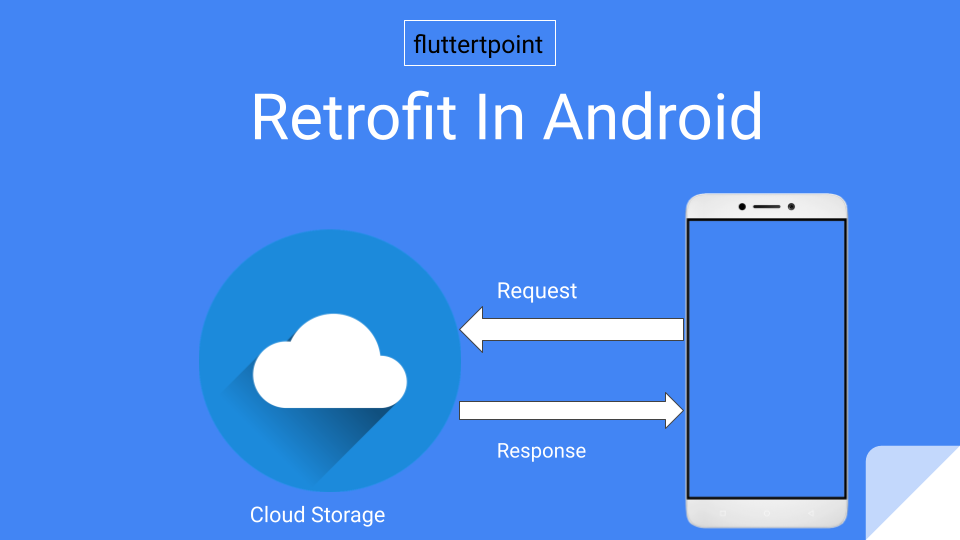
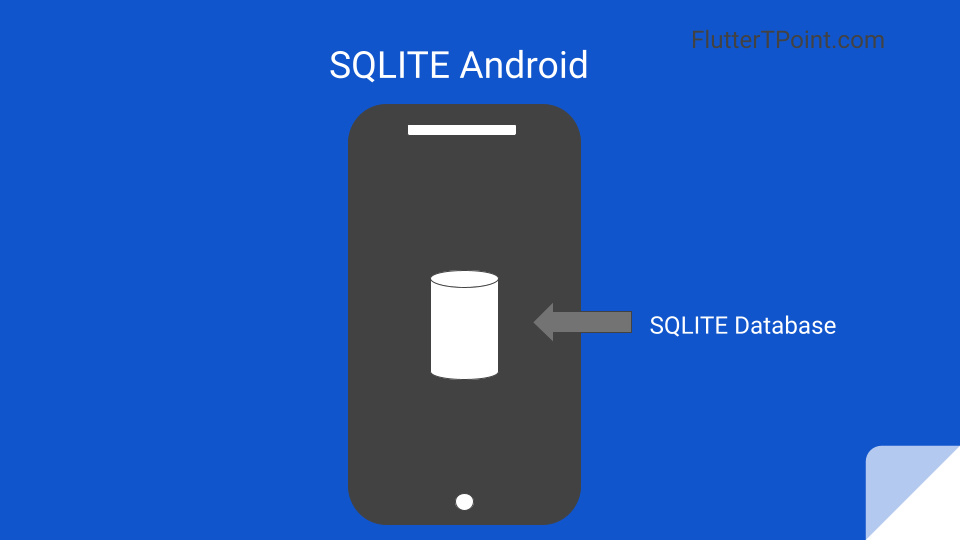
SQLITE Database In Android Studio Example
What is WebView In Android Studio
Pull To Refresh In Android Studio
Opening Camera In Android Studio Examples
Tabs In Android Studio Example
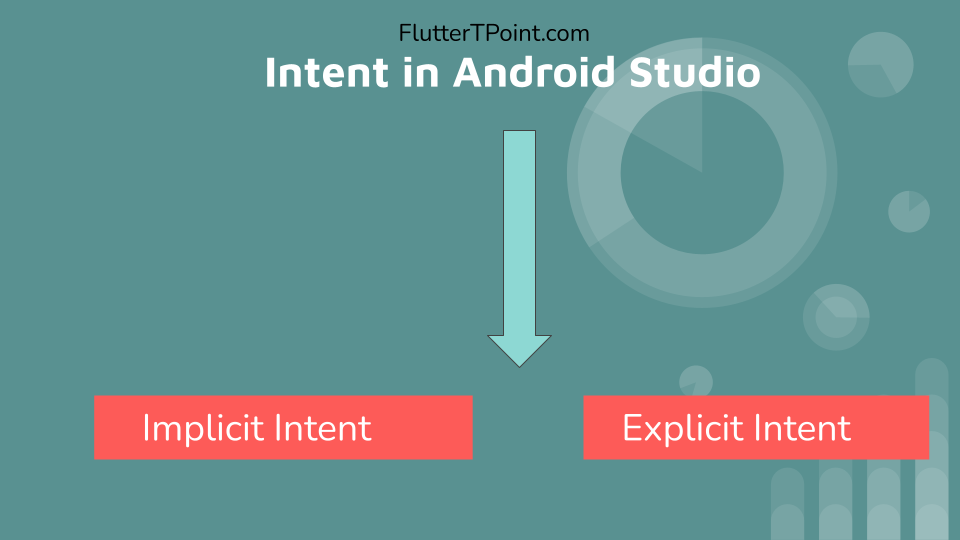
Intent In Android Studio With Examples
Creating Rounded Corner Button In Android Studio
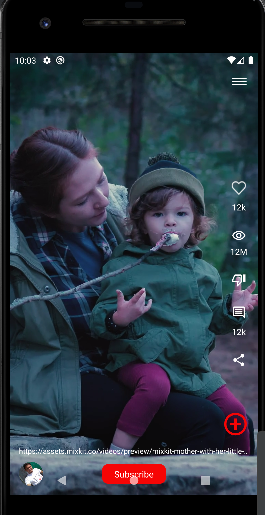
Full Screen VideoView In Android Studio Example
Auto Image Slider In Android Studio Example
Recyclerview in android Complete Example
Android DataBinding Example | Enable Data Binding in Android
Bottom Navigation Bar In Android
Navigation Drawer In Android Studio With Example | FlutterTPoint
Why String are immutable in Java Full Explanation